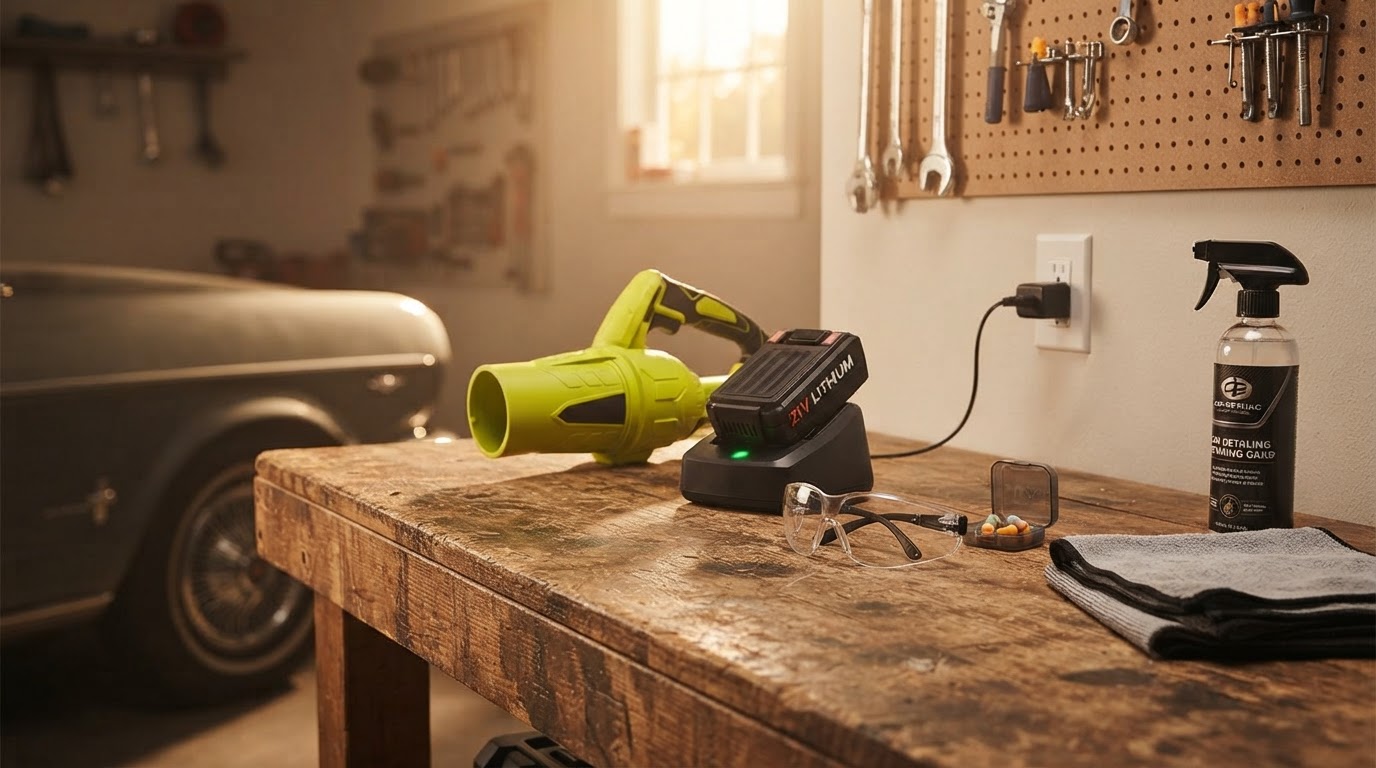
How to Safely Blow Dry Your Car After Washing
Blow drying your car is the fastest way to achieve a spot-free, scratch-free finish. Follow this step-by-step guide on how to blow dry a car safely using cordless forced air tools.
Step 1: Prepare Your Workspace and Safety Gear
Move your vehicle into a shaded area or garage to prevent sunshine from prematurely drying rinse water. Put on personal protective equipment. The Jet Blower kit includes ear plugs for hearing protection during operation.
Step 2: Wash and Apply Hydrophobic Protection
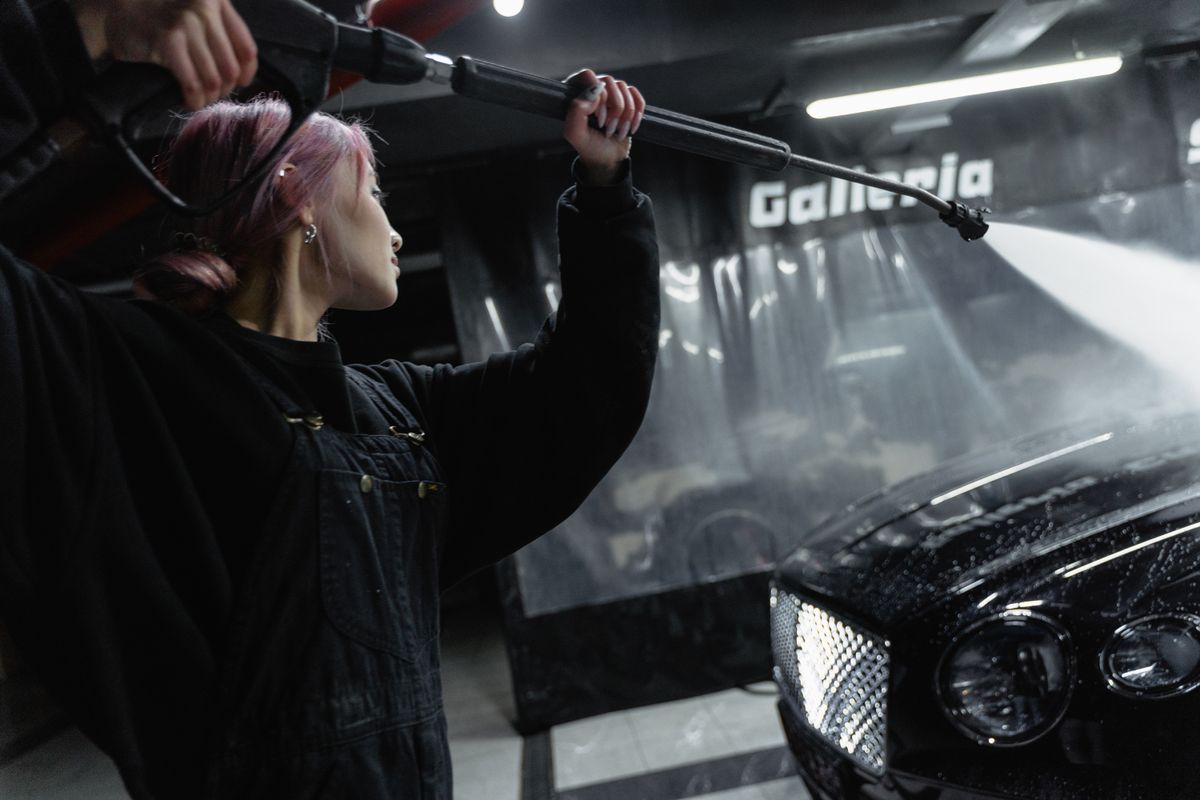
Photo by Tima Miroshnichenko on Pexels
Rinse away all car shampoo thoroughly. Applying a ceramic spray or hydrophobic wax coat during or after washing causes water to bead up tightly, making blow drying drastically faster.
Step 3: Blow Dry Vehicle Panels Top to Bottom
Power on your drying tool. The Jet Blower features cordless 21V battery power and high-velocity airflow for fast drying out of the box. Hold the nozzle at a 45-degree angle approximately 4–8 inches away from paint surfaces. Start at the roof, blowing water downward off the windshield, hood, side panels, and trunk lid.For a complete understanding of mineral spot prevention, refer to the main guide.
Step 4: Clear Water Traps and Hidden Crevices
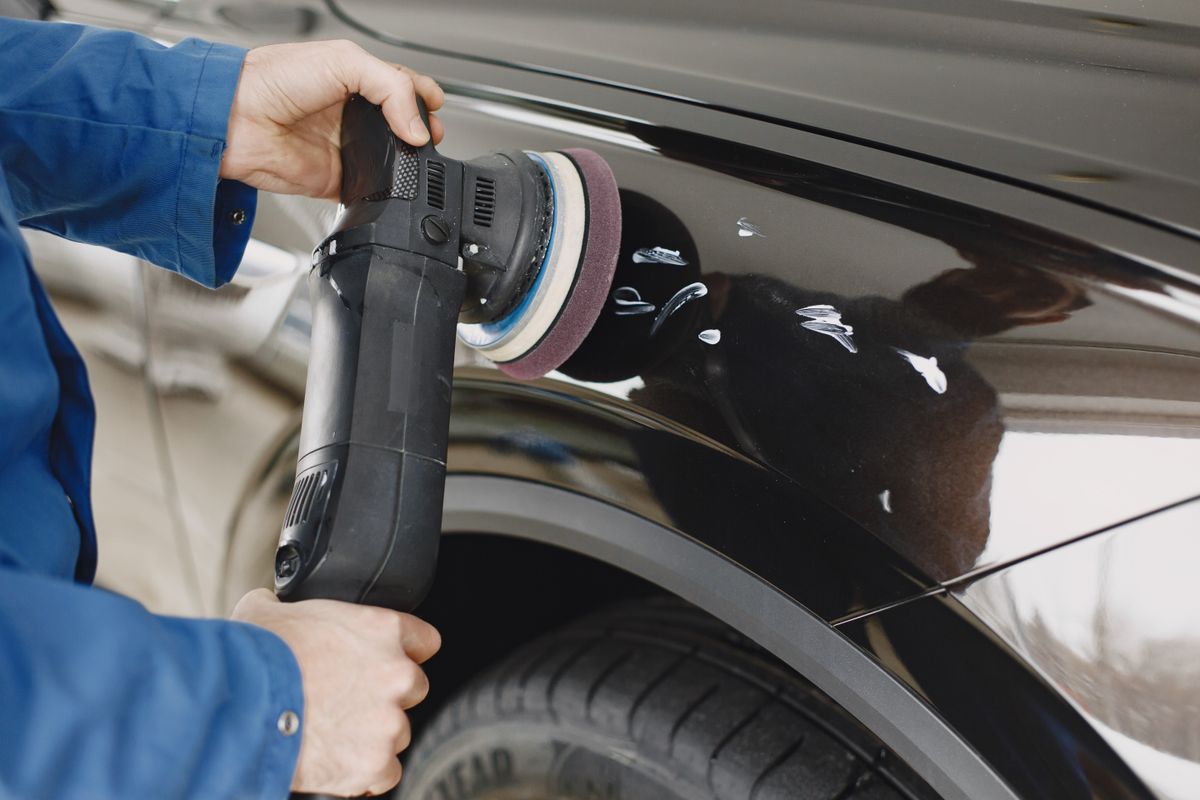
Photo by Gustavo Fring on Pexels
Direct the airflow into water-trap zones:
- Side mirror seams and glass crevices
- Front bumper grilles and light housings
- Door jambs and trunk weatherstripping
- Wheel lug nuts and brake calipers
Step 5: Store Equipment Properly
Once drying is complete, insert your tool and accessories back into their protective storage. The Jet Blower comes with a complete kit including the blower unit, battery, charger, ear plugs, and a hard carry case for easy storage and transport.Read the full guide: The Complete Guide to Preventing Water Spots on Your Car